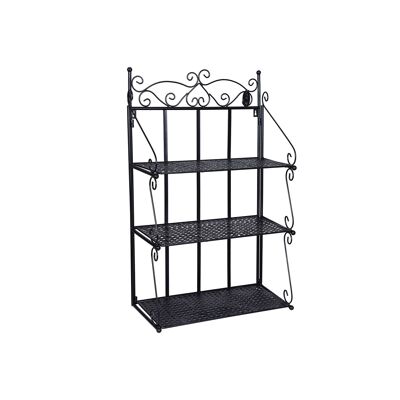
Living Design Children's coat hanger maple wood 20 pieces white 35 x 20 x 1.2 cm (W x H x D)
See the wholesale price

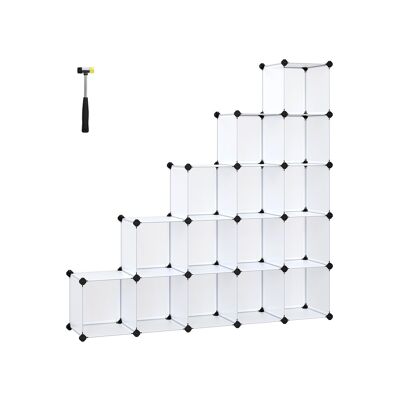
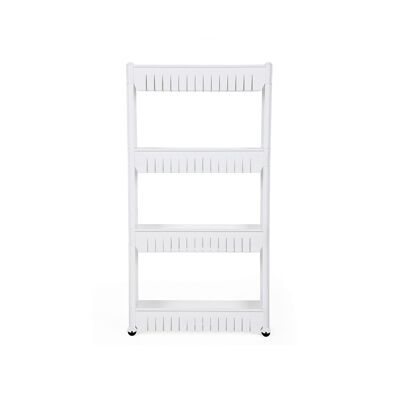
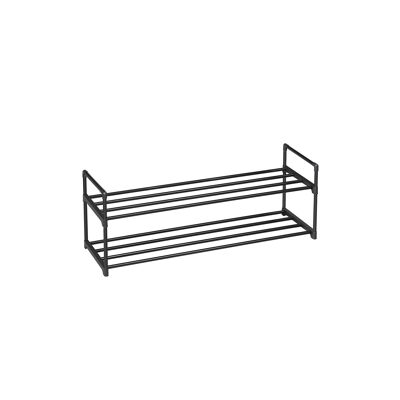
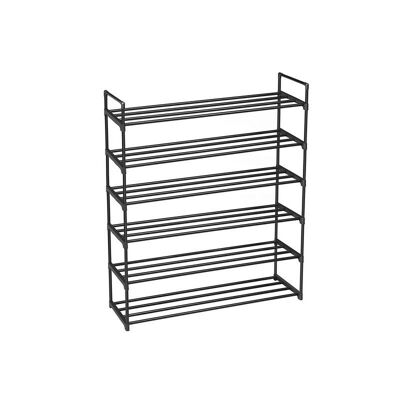
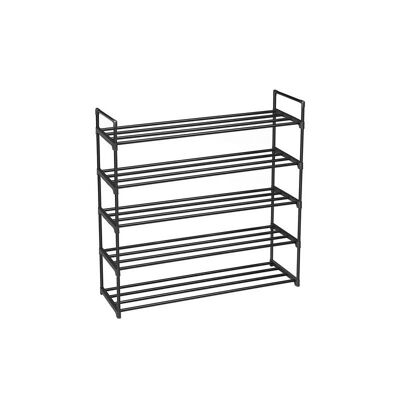
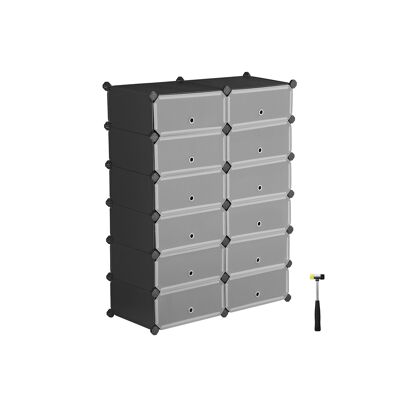
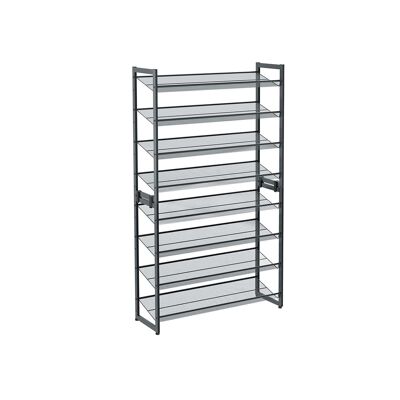
Living Design Shoe Rack DIY Shoe Rack with Door 10-Layer PP Plastic Shoe Rack with Rubber Mallet and Tilt Protection Semi-transparent white Men's shoes, women's shoes, children's shoes, sneakers, slippers, pumps, etc. There is room for all shoes, it combines lightness and stability in an ideal way. The assembly is based on a kind of advanced plug-in system, the graphical assembly instructions guide you step by step to a practical space saver. If necessary, the cabinet can be easily disassembled for space-saving storage or transport. Whether you are looking for a shoe cabinet or just need storage space in the hallway - Living Design's offers the right solution for all these tasks thanks to the flexible system! Product details: Dimensions: 43 x 173 x 31 cm (W x H x D) Material: PP plastic (plate) + ABS plastic (connector) Color: semi-transparent white Max. Load capacity per compartment: 10 kg Scope of delivery: 12 x PP sheet (40 x 30 cm; semi-transparent white) 20 x PP sheet (30 x 17 cm; semi-transparent white) 10 x PP sheet (40 x 17 cm; semi-transparent white) 10 x door (40 x 17 cm; semi-transparent white) 48 x plastic connectors (black) 1 x mallet 1 x manual (DE, EN, FR, IT, ES) 1 x anti -rocker (2 sets of screws, dowels and nylon straps) Notes from Living Design: Since the cabinet is mainly made of PP plastic, avoid pressing the cabinet with strong pressure, hitting it with great force or come into contact with sharp objects. Also make sure not to sit on the cabinet. Keep it away from ignition sources or open flames. When attaching the connectors, keep in mind that the circular surfaces with the "Living Design's" logo should all face outwards. When securing the door, insert the wire into the corner along the inner corrugations of a connector sector and the wire should be "all the way down" in the slot. Depending on the structure of a floor, you may already be attaching the doors. When attaching the panels, make sure that the recessed corners of the panels are pushed all the way into the slots of the connecting pieces. To do this, after building a level, always push each connector until the pieces are "down" and snap into place. You should definitely pay attention to the accuracy of the fit, otherwise the cabinet will look crooked. The panels are made of a metal rim covered with a stable plastic sheet, placed on the edges and then welded. It is not recommended to put books, dumbbells or other heavy objects in it.